
Installation · Chapter 5
Networks without DHCP — IP configuration
Most networks assign IP addresses automatically. If you do not have DHCP, this chapter shows how to configure a fixed IP address.
This happens on some corporate networks with fixed IP addresses. Without DHCP, the device gets no IP and the Gateway cannot be installed remotely. The solution is to generate a network configuration file and copy it to the card before the first boot.
If the device showed an IP address in chapter 4, your network has DHCP and you can skip this chapter. Continue here only if it got no IP.
Open the IP configuration page
From any computer with internet, open this address in the browser. No username or password is needed:
https://srt-gateway.cef-technology.com:4500/config-ip/
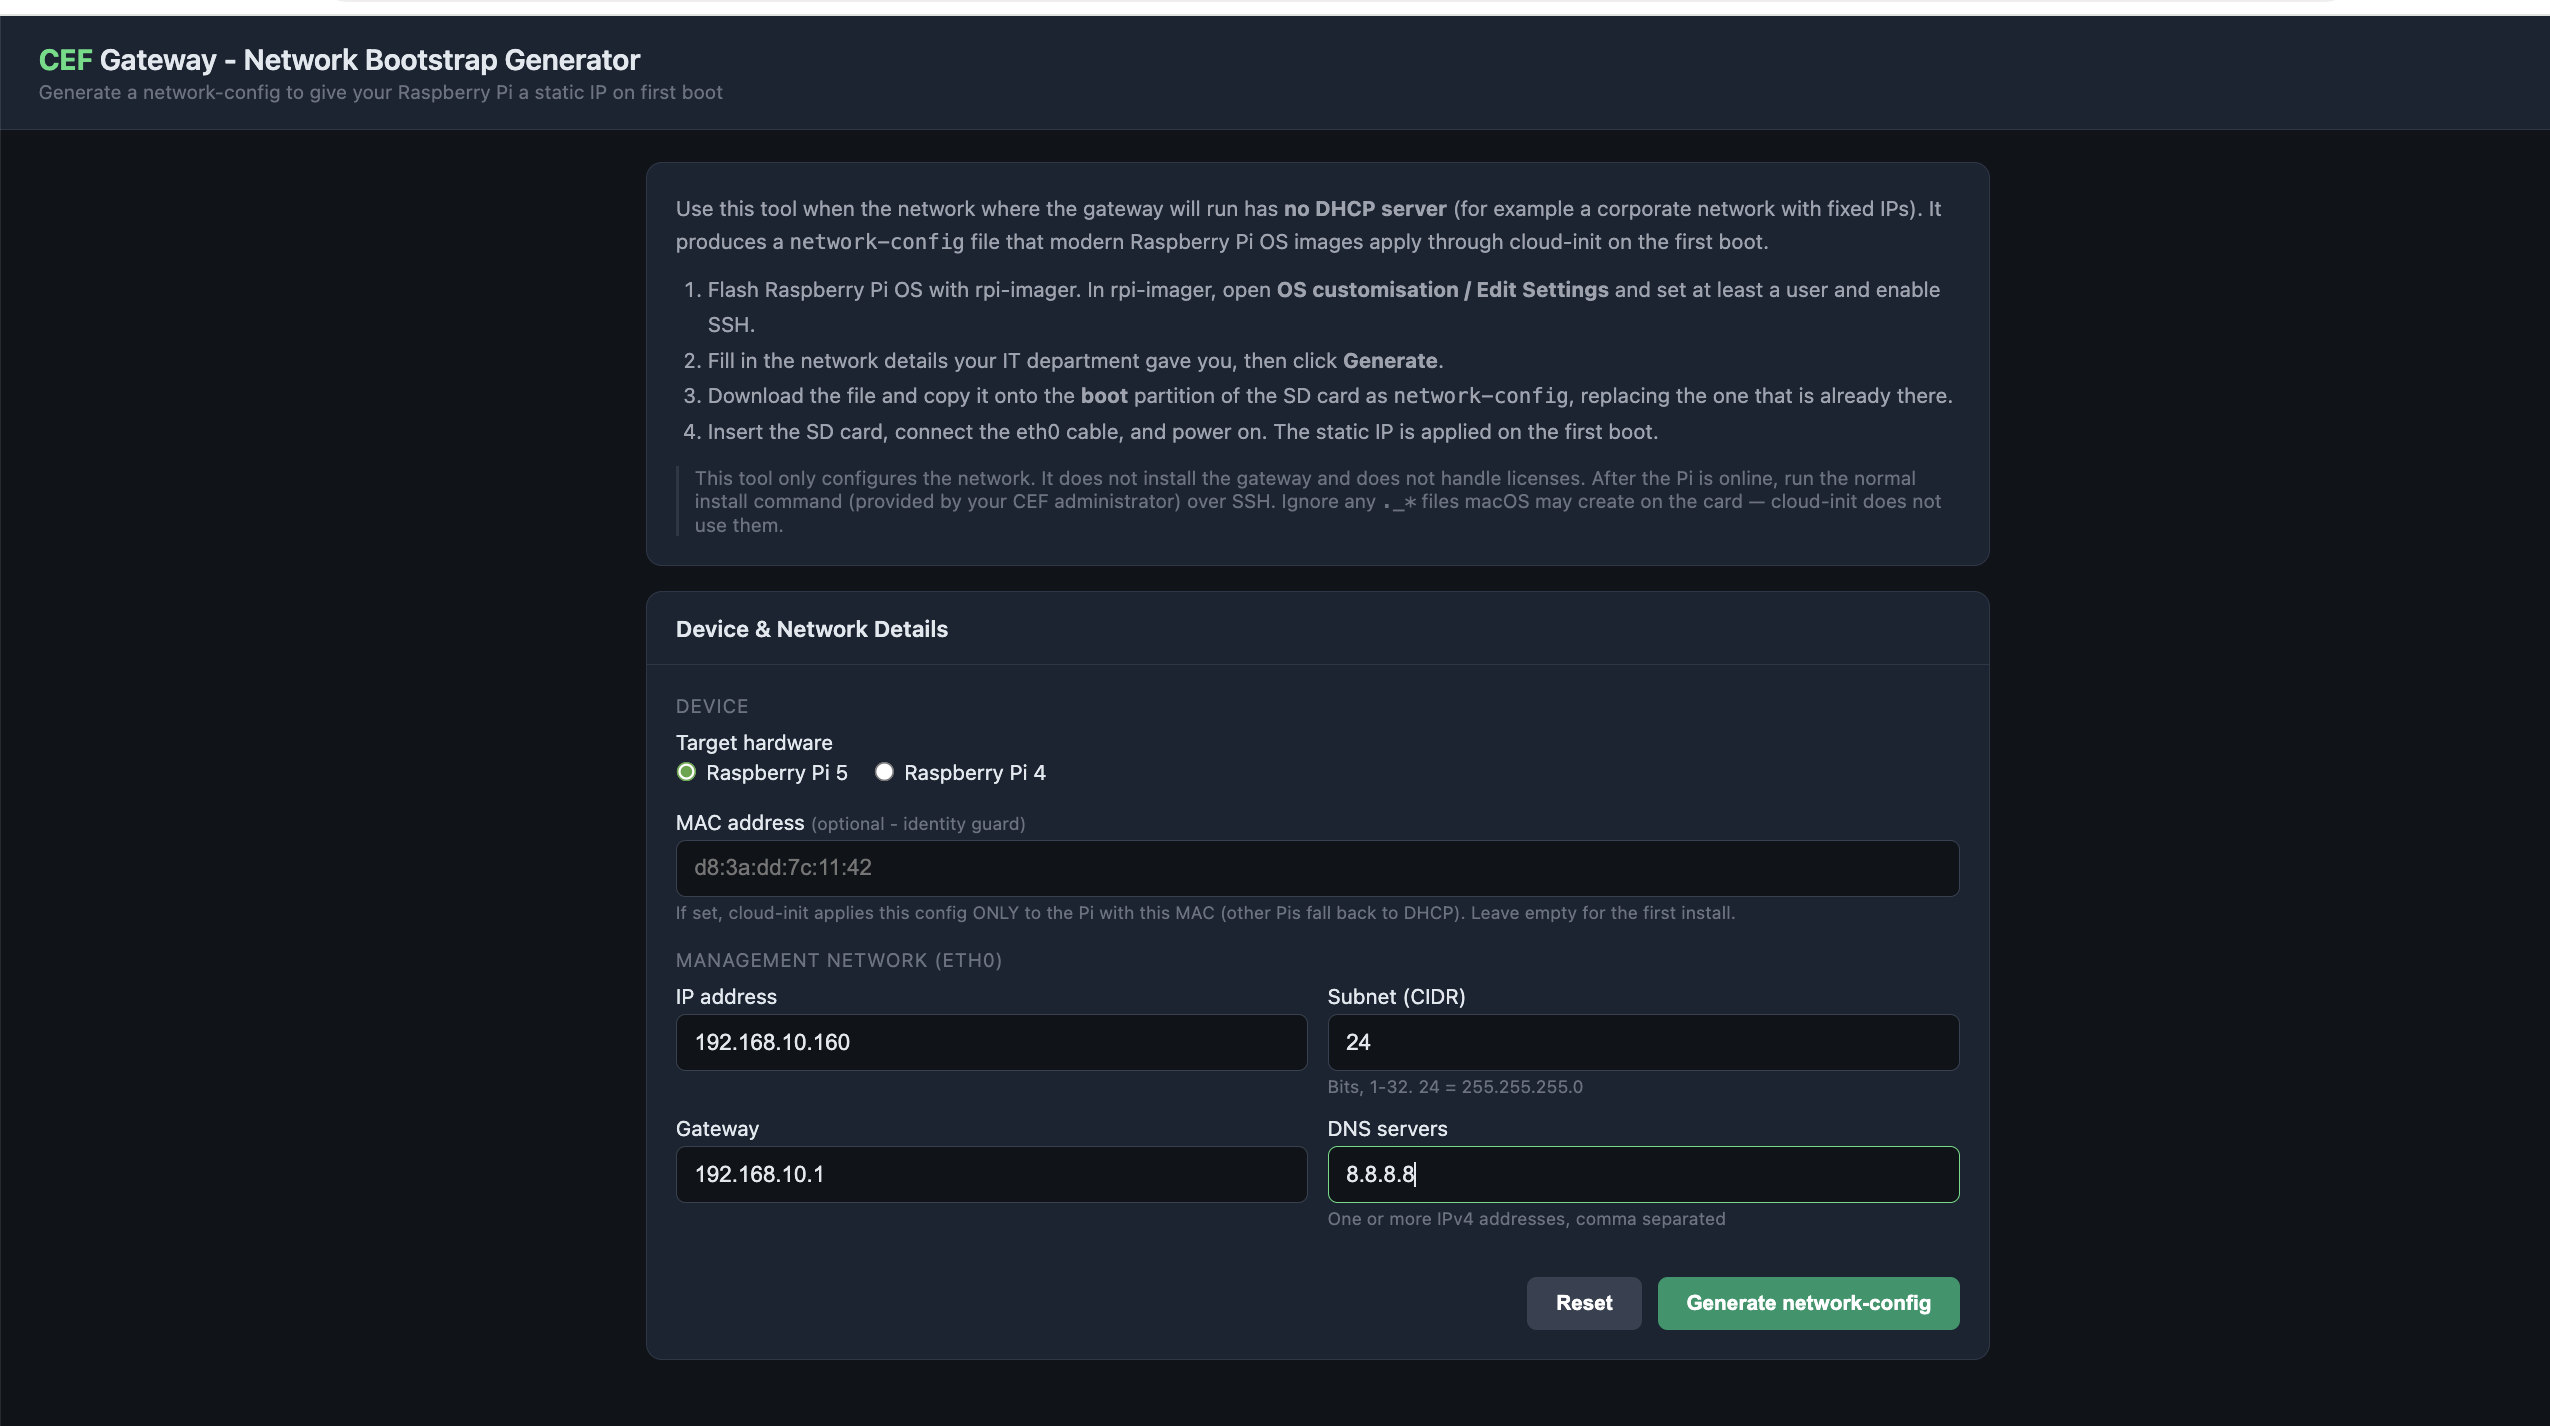
Fill in your network details
Enter the details given by your network administrator: fixed IP address, mask, gateway and DNS. Optionally, the device MAC address and the model (Pi 4 or Pi 5). The page generates the file instantly, inside your own browser.
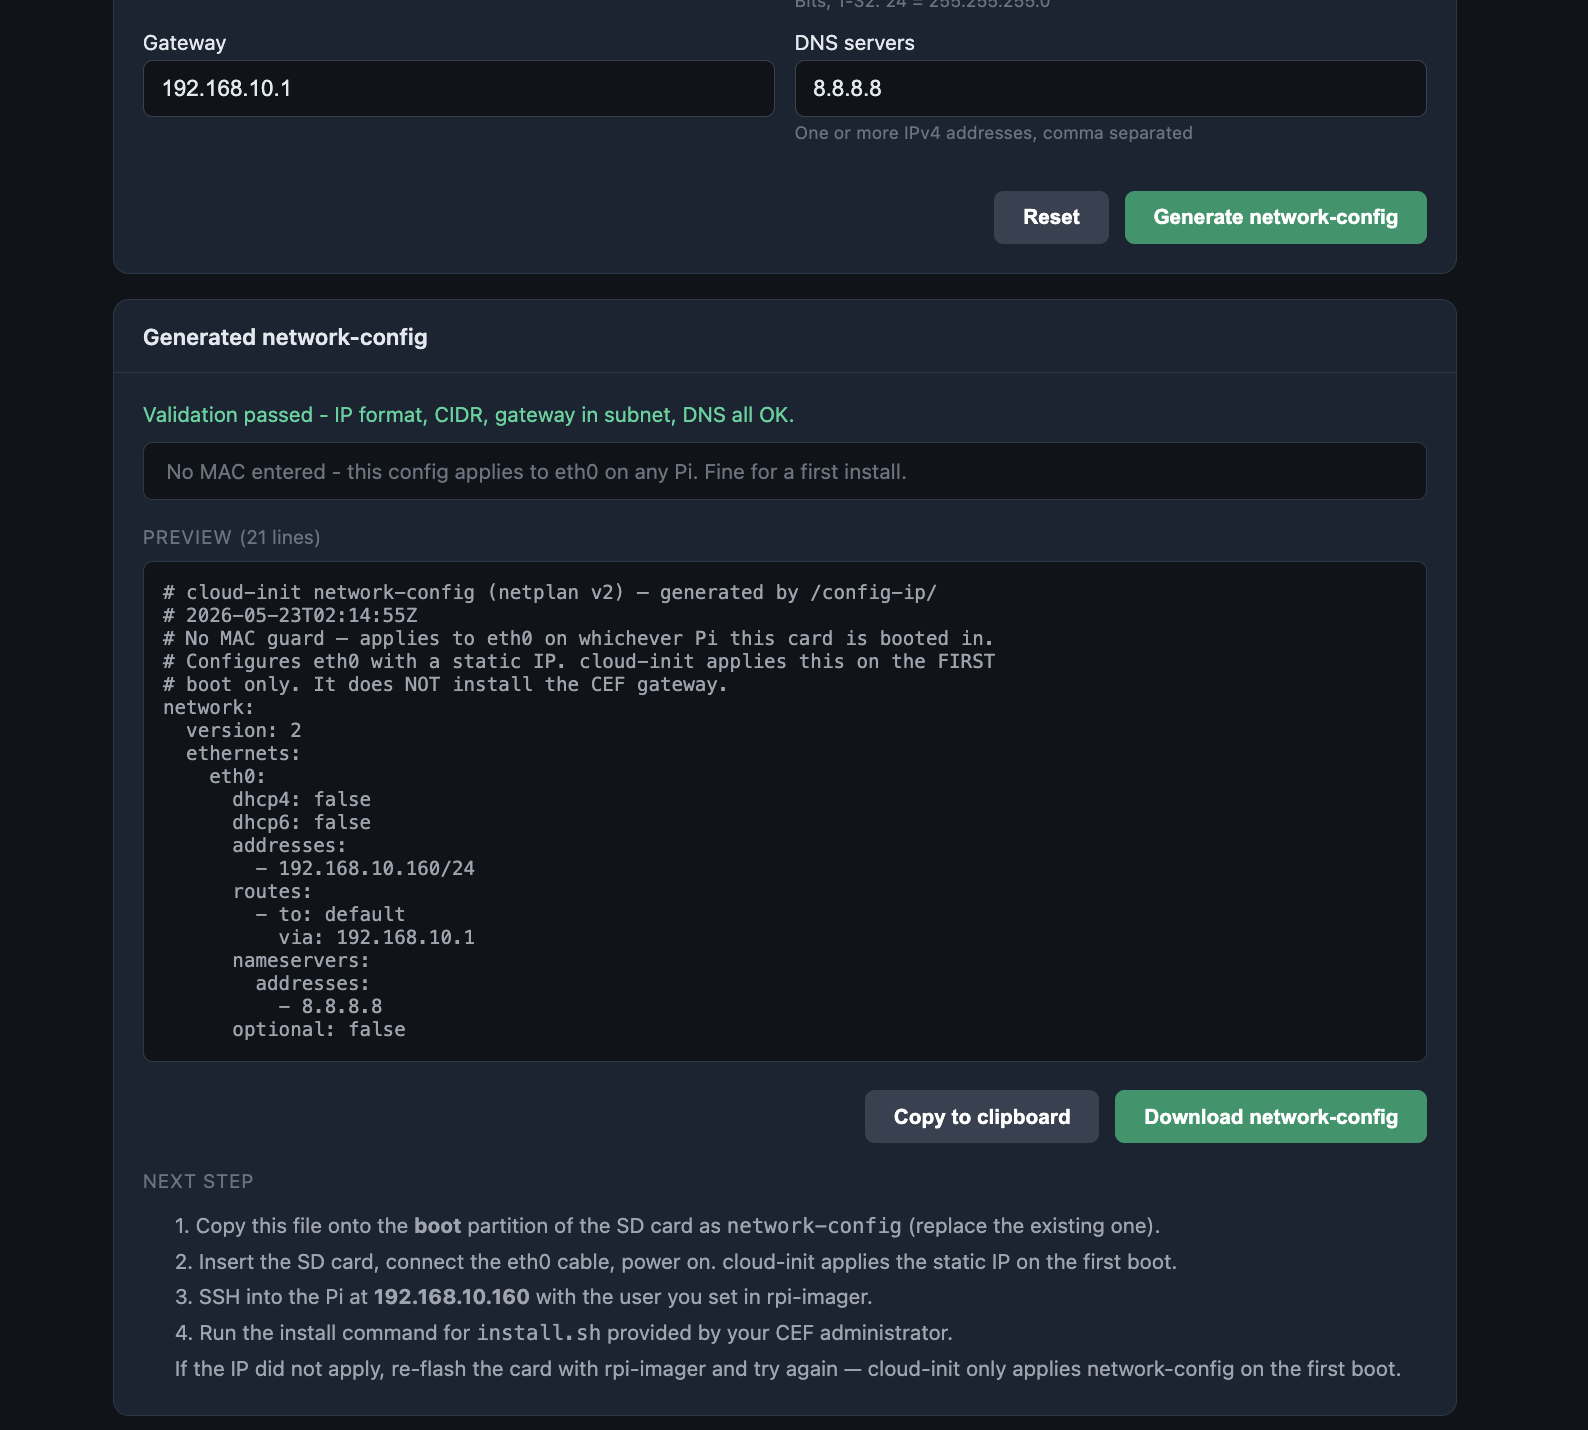
Download the network-config file
Download the file the page generates. It must be named network-config.
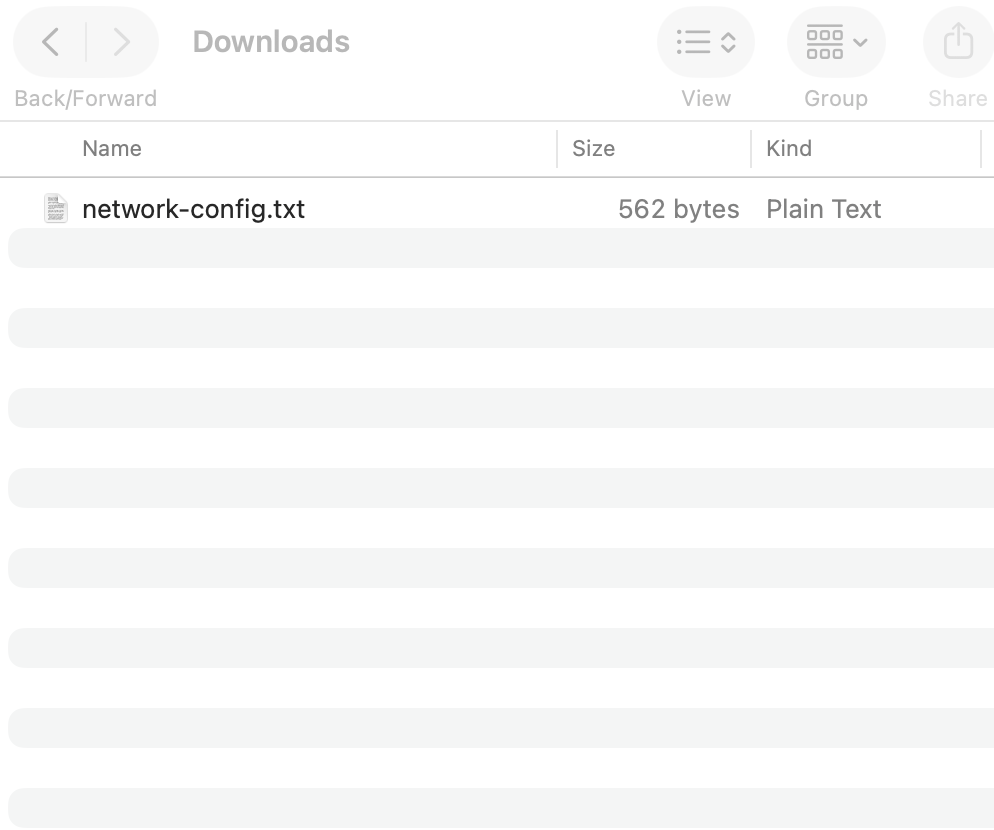
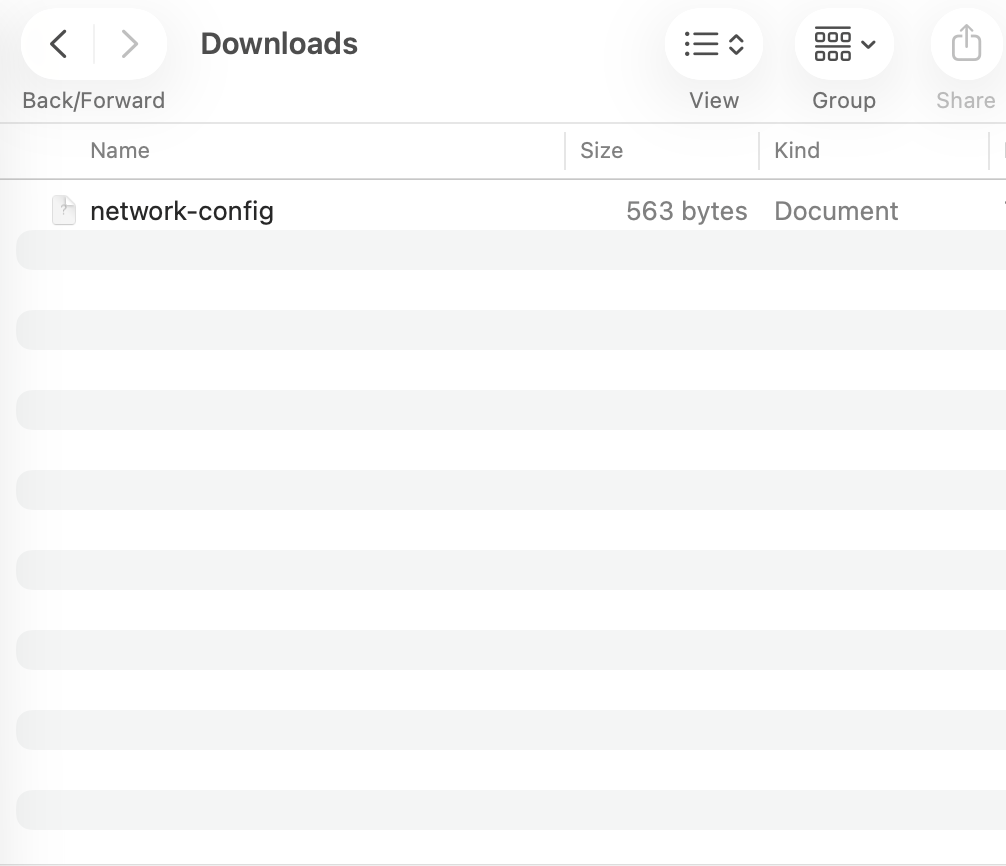
Some browsers add .txt on download. The file must be named exactly network-config, with no extension. Rename it if needed.
Copy the file to the card
Insert into your computer the microSD card where you installed the operating system. A volume named bootfs appears. Copy the network-config file into that volume.
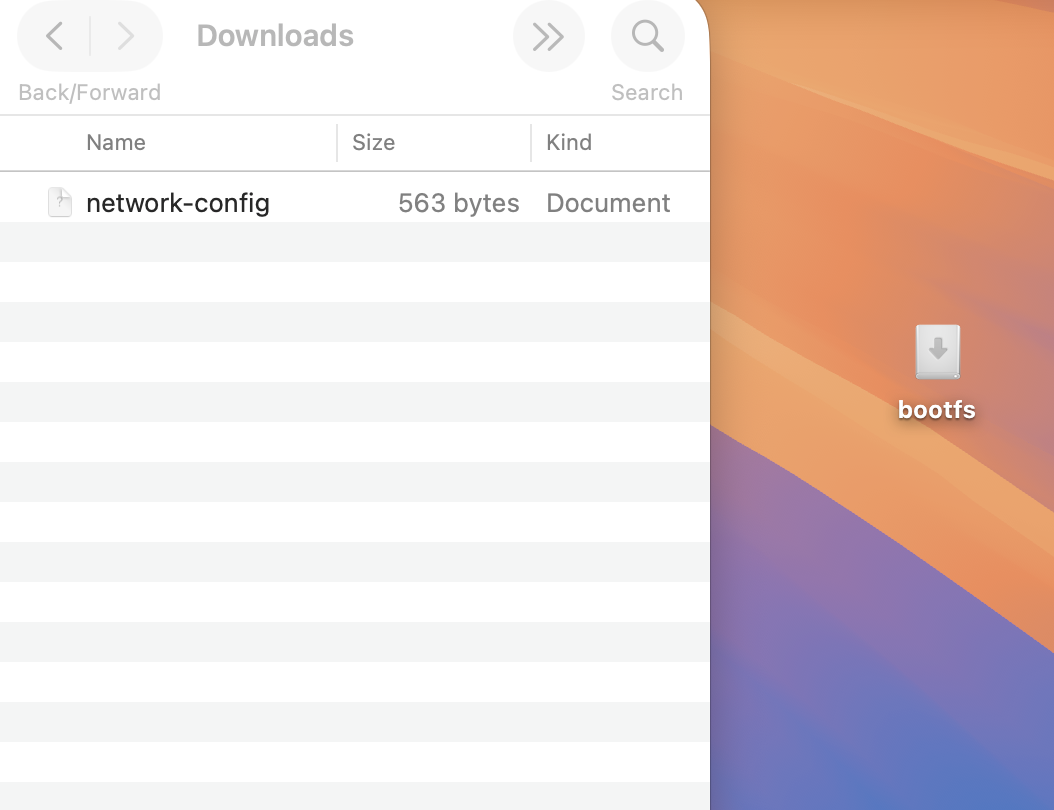
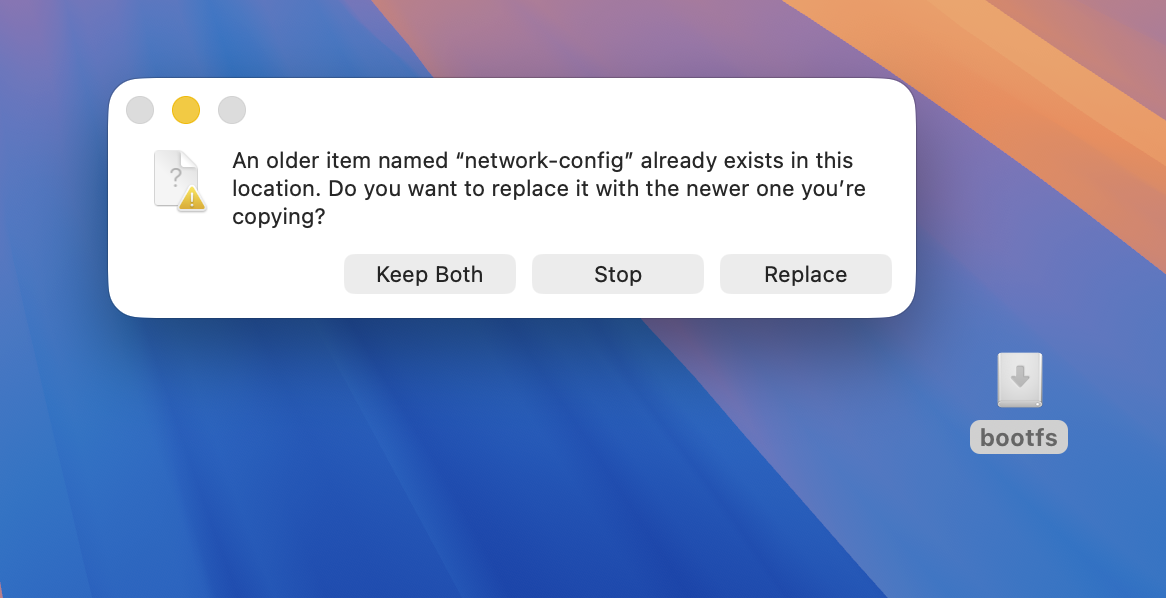
The system asks whether to replace an existing file; choose Replace.
Boot the device
Eject the card, insert it into the Raspberry Pi and power it on. On the first boot, the device applies the fixed IP address you configured.
The configuration is applied once, at boot. If you got a detail wrong and already booted, load the operating system again (chapter 3) and repeat this process.
You will see the IP you configured on the monitor screen. With the fixed IP address applied, continue with the Gateway installation (chapter 6).